Introduction
In this post, we will discuss How to install Pega Personal Edition with simple and easy steps. We will provide complete PEGA concepts from beginners.
If you are new to my website, first see the below post so that you will know how you can download Pega software for free from Pega PDN.
Pega Installing Steps
Once you have downloaded the Pega latest version, just follow the below steps so that you can easily install PEGA PRPC on your Desktop/Laptop.
Step 1:
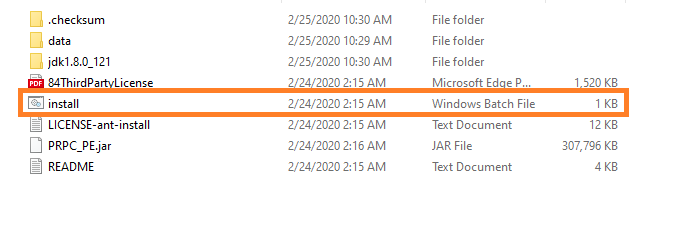
As you download Pega software you will get a downloaded file in Zip format, extract the zip files to where you want to save all the required files of your Pega software. Click on the Install option (Windows Batch File).
Step 2:
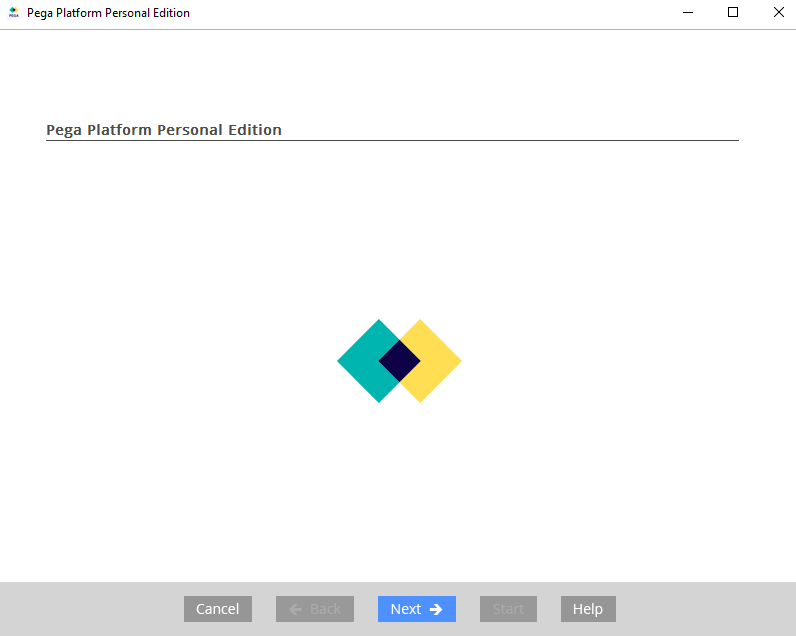
Once you click on install, the software starts installing as shown in the screen below.

Step 3:
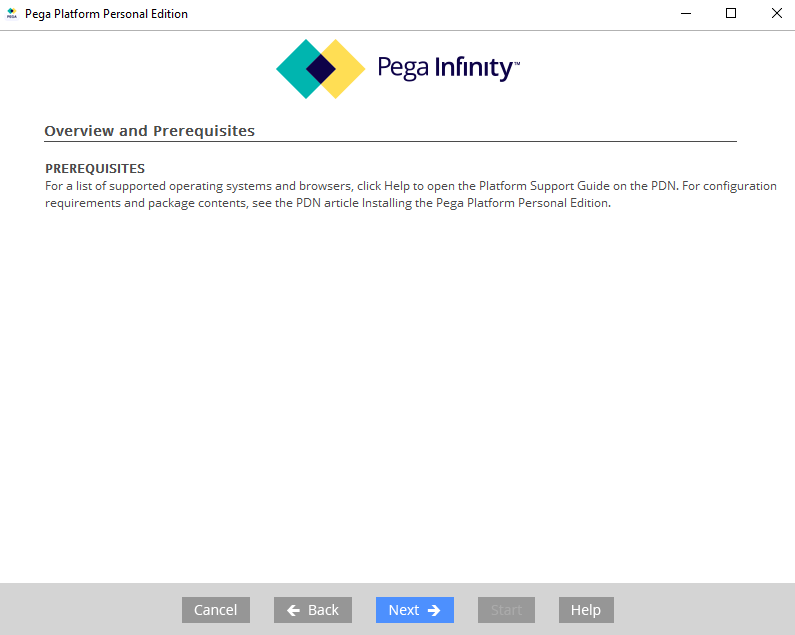
Now Click on the Next option to continue Pega personal edition installation process.😊
Step 4:
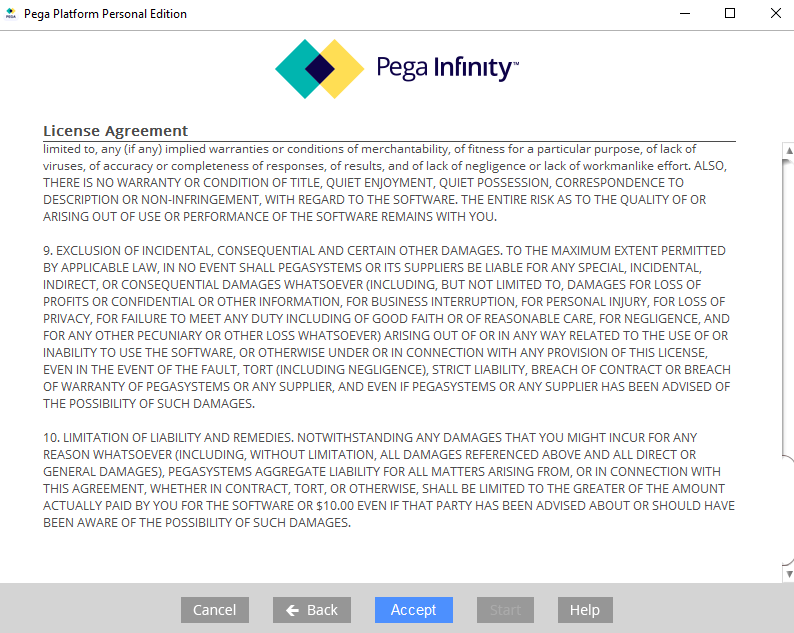
In the next step, you need to accept the Licence Agreement of Pega Software.
Step 5:
Select All options and click on the Next option.
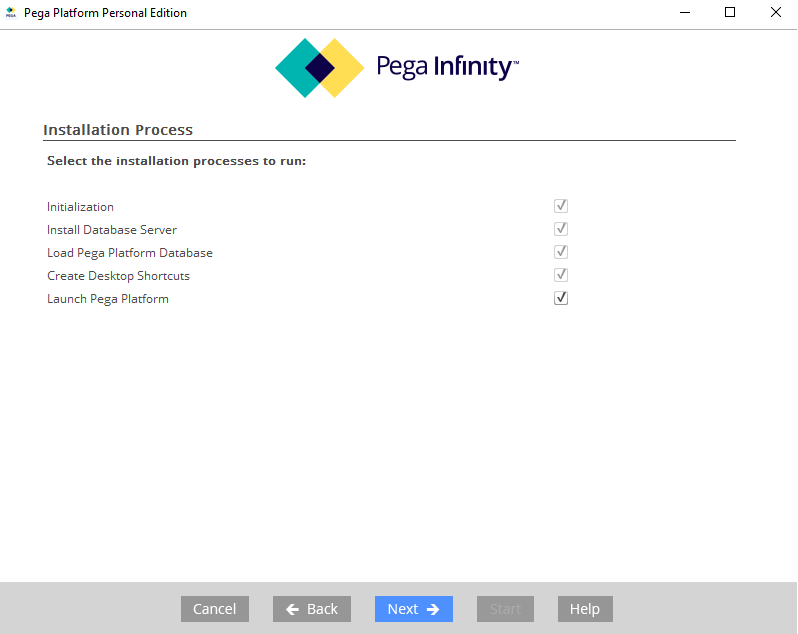
Step 6:
Select the directory ( location ) where you want to install your software on your Desktop/Laptop. (Recommended Always better to select C drive only )
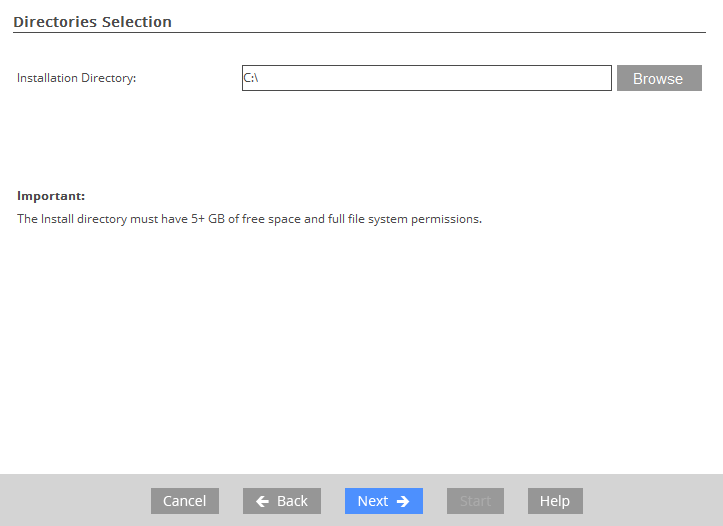
Step 7:
Leave the Port numbers as default or you can change if you want but always better to use default port numbers.
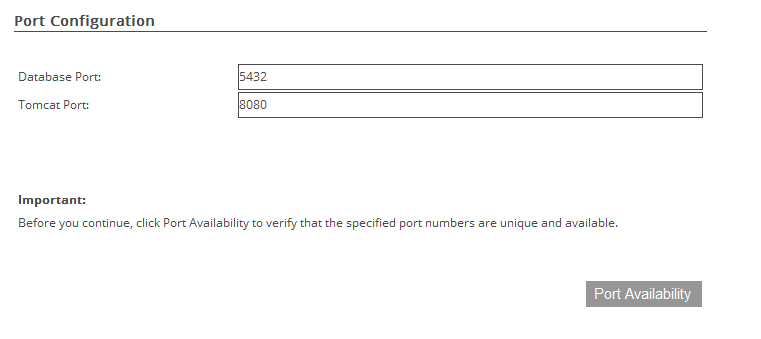
Step 8:
Once you have done with all the above steps, click on the Start option to start installing the process.
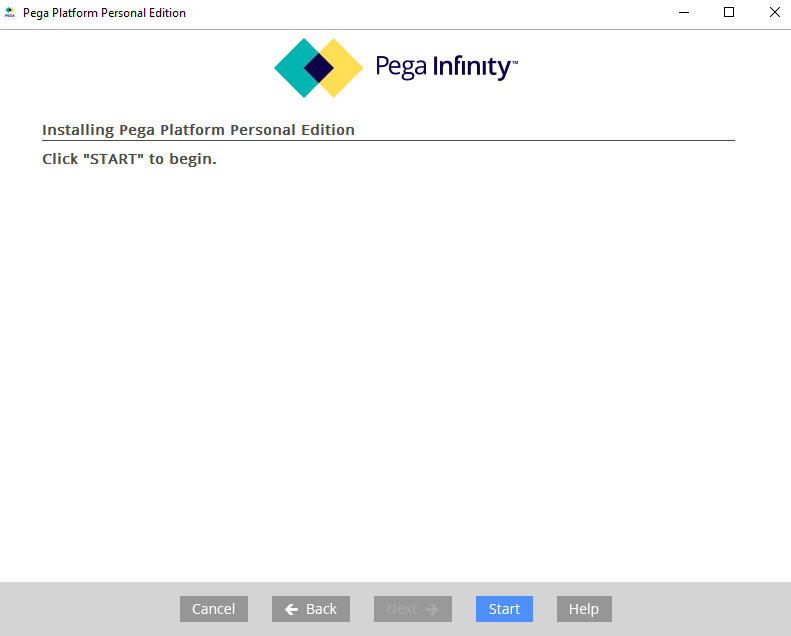
Step 9:
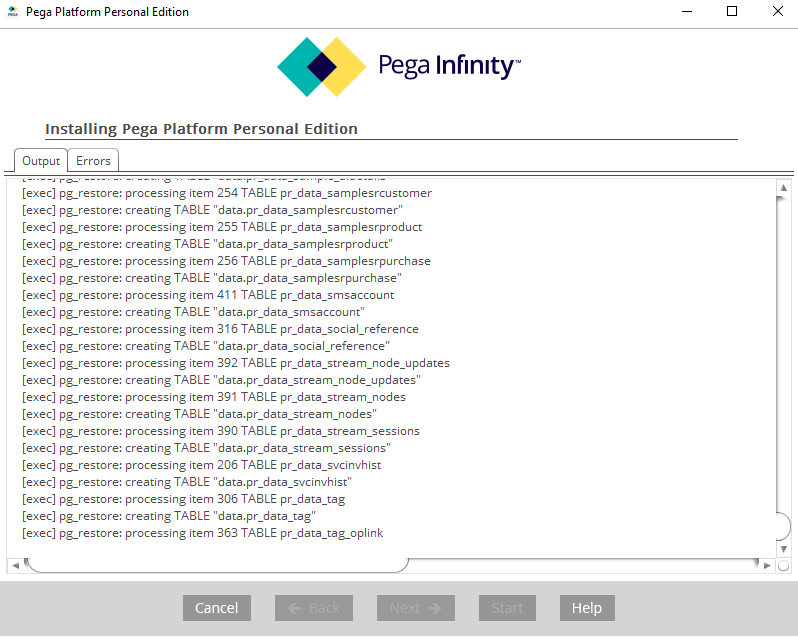
Now your installation process will start, wait for till it gets completed, it will take some time to install completely.
Step 10:
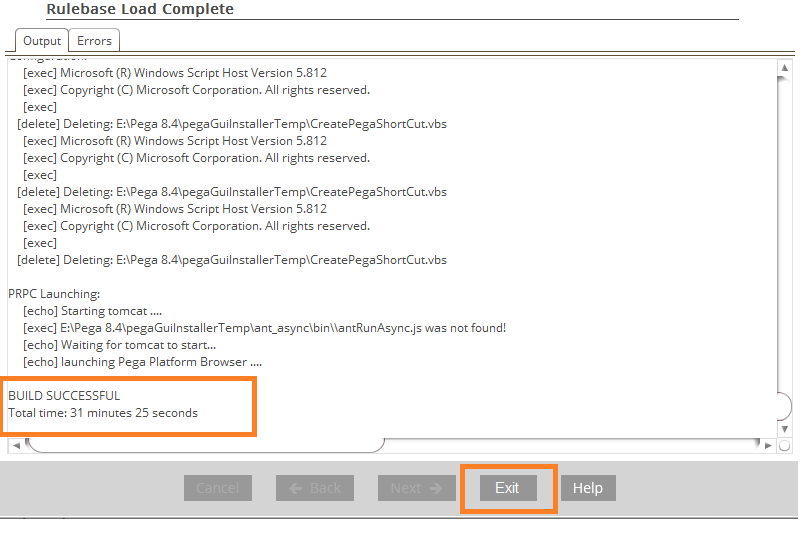
Wait till all the installation process gets completed. You can see the message as Build Successful, then click on Exit option as shown in the screen below.
Step 11:
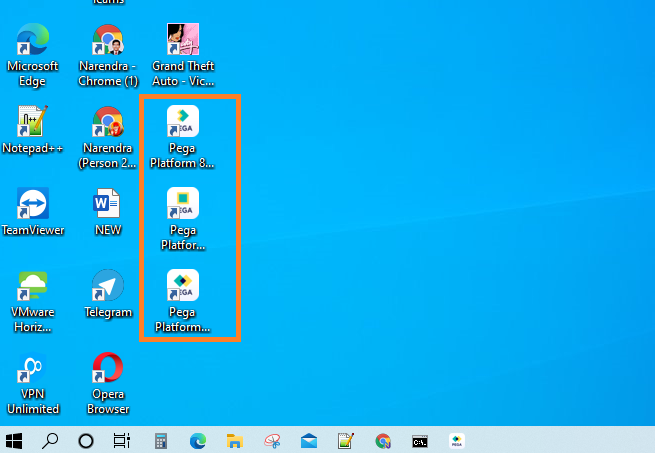
Once the installation process has completed, by default three icons will be created on your Desktop/Laptop screen. Which is used for
1.Starting Pega server
2.Login into Pega application
3.Shutdown Pega server.
Step 11:
First Icon Starting Pega server is used to start the Pega server, when you click on this icon you will get below screen.

Step 12:
Second Icon Shutdown Pega server is used to shut down the Pega server, when you click on this icon you will get below screen.

Step 13:
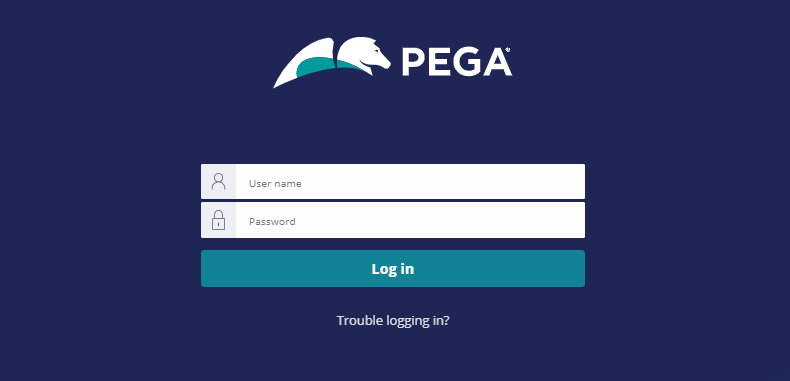
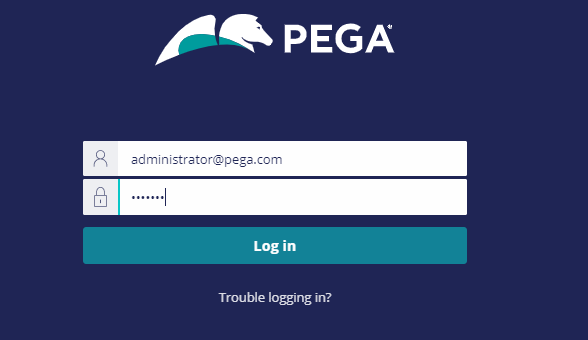
Third Icon Login into Pega application is used to login to the Pega server, when you click on this icon you will get below screen.
Note: Pega default username will be administrator@pega.com and password as Install.
Step 14:
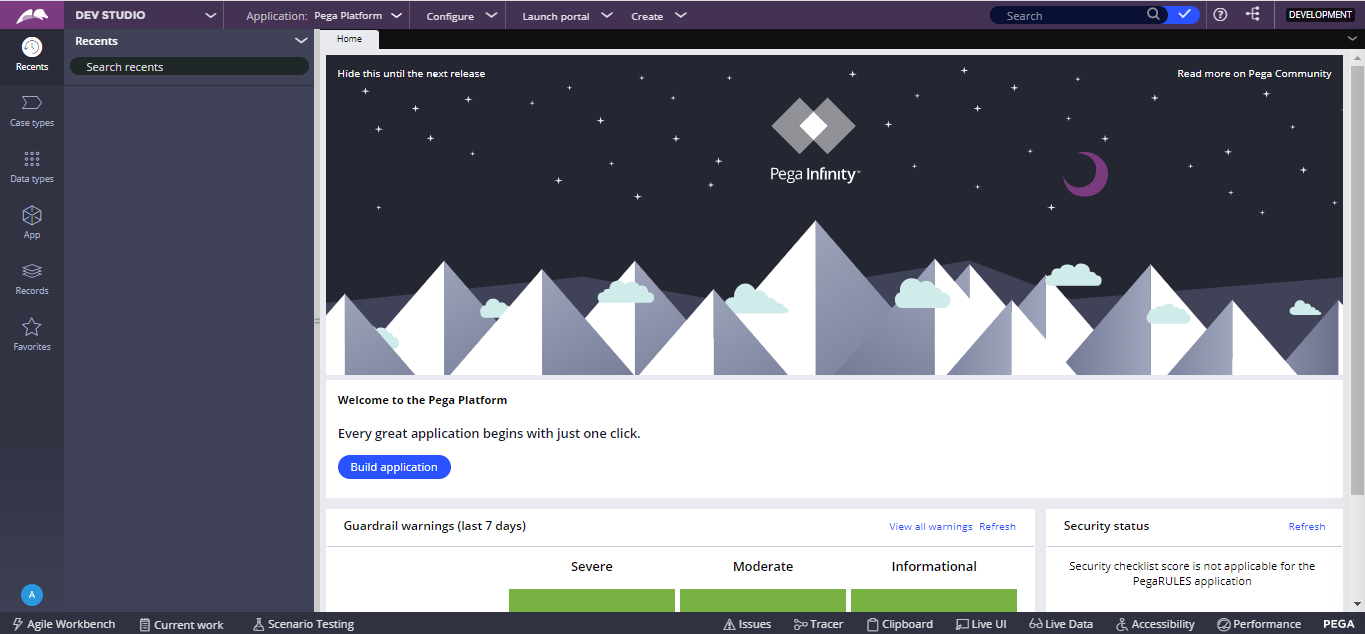
Once you have a login you will see the default Pega designer studio as shown in the below screen.🥰
Conclusion
Finally, now we have learned how we can install Pega personal edition into our system. 😀 In the next post, we will learn about how we can create new operators and sample applications.
Thanks for your support we will provide more tricks & tips for you. If you like our tricks, share these with your friends and join my Telegram Channel for more new tricks & tips.
Also Read Our New Trending Articles >>>>
- How To Configure Authentication Timeout In PEGA
- How To Unblock Yourself On WhatsApp
- Buy Car and Bike Accessories Online At Best Prices
- Men : Must Have Footwear Styles for Everyone
- Essential Home Accessories for a Stylish Home
- Must Have Baby Essentials : A Comprehensive Guide for New Parents
- Buy Kitchen Essentials Online in India {OLD}
- Best Deals on Bathroom Accessories | Tech Naandi Solutions
- Buy T-Shirts For Men At Best Prices Online
- Best Deals on Daily Needs | Tech Naandi Solutions


 PEGA Interview Questions
 Pega Real Time Scenarios


 Outlook
 Android Mobile
 Whatsapp Tricks
 Telegram Tricks
 Facebook Tricks
 SMS Tricks
 Online Money Earnings
 UAN & PF Services
 Latest News / Updates
 SEO Tools

 Netflix